Step-by-Step Dog Training Guide for ‘Leave It’
This simple dog training skill could save your dog’s life
share article
To us, the idea of eating food wrappers, horse poop and other smelly things found on the ground is gross. To your dog, it’s like walking into a room filled with French pastries and desserts – and they’re free. But those scavenged itemsopens in a new tab can also be extraordinarily dangerous.
‘Leave it’ is an essential cue that asks your dog to leave something alone and is up there among the most useful training cuesopens in a new tab you can teach your dog. Think of it this way: your dog might not stop chasing that deer on their own (we’re looking at you, Fenton), but with an airtight ‘leave it’ cue, you can stop them in their tracks.
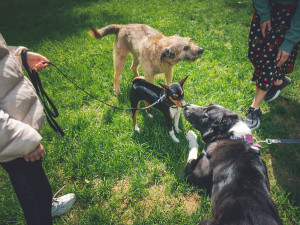
So whether it’s another dog, that slice of pizza on the edge of the counter, a squirrel, the person uninterested in your dog’s attention or the cat’s poo, anything can be protected from unwanted attention with a well-practiced ‘leave it’. Here’s a short basic dog trainingopens in a new tab exercise you can practice with your dog every day to master this essential skill.
Teach your dog ‘leave it’
The ‘leave it’ command is easy to teach dogs and can prevent your dog from eating something that could hurt them. But before you get started, gather up your supplies: a hungry dog and two kinds of treats (an ordinary treatopens in a new tab or biscuit, and one far more delicious).
1. Show your dog a treat
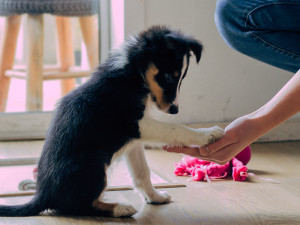
Begin with one of the ordinary treats in an open palm. Lower it to where your dog can see it.
2. Close your hand when they attempt to grab it
When your dog tries to take the treat, close your hand around it. They will likely nudge at the treat. Ignore this behaviour. Ignore any behaviour attempting to pry the treat out of your hand. What you’re waiting for is even the slightest hesitation in interest.
3. Wait until they stop trying to get it and reward
The moment your dog shows even a fleeting second of hesitation in trying to wrestle that treat from your hand, you bring one of the better treats out in your other open palm. The dog gets this treat as a reward for that moment’s hesitation.
4. Next, wait longer before rewarding
In repeating this dog training drill over the course of days or weeks, you are building up your dog’s skills by waiting for incrementally longer hesitations until it becomes clear they are beginning to understand. The goal is for your dog to show more restraint than they did the first time they were shown the treat.
5. Add in the verbal cue and repeat the practice
When your dog begins to show more restraint, you can begin to integrate the verbal cue, saying ‘leave it’ when the dog is moving away from the first treat. If they listen the first time, they get the more delicious treat. If they don’t, the fist closes, you wait and you try again together.
Moving to the next level
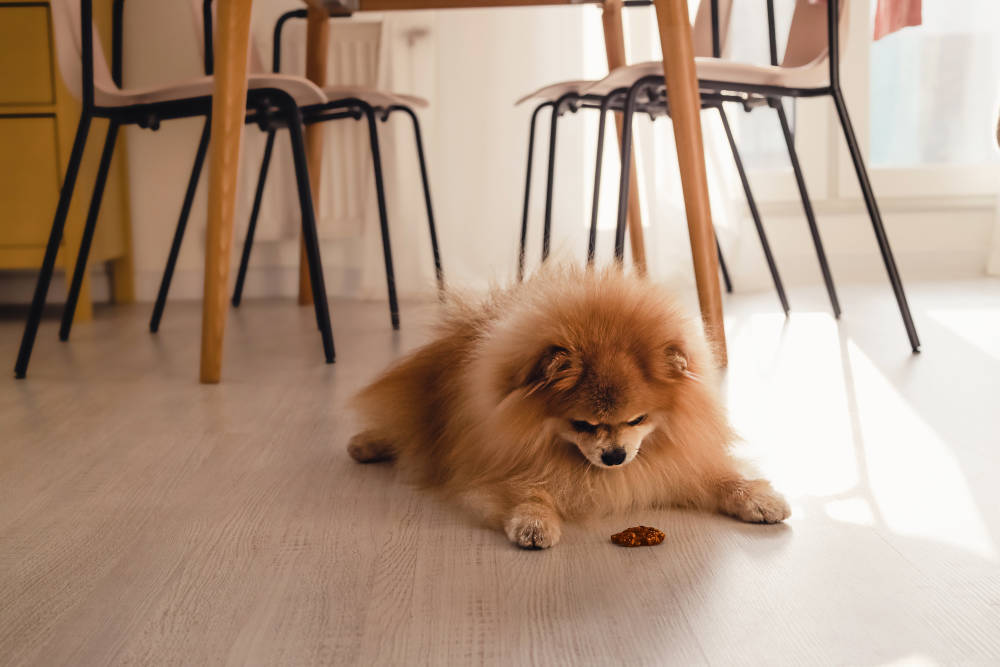
As your dog’s skill progresses and they achieve a rock-solid ‘leave it’ with treats in your palm, you can work on more advanced training. You can try this exercise but put the treat on the table or floor. Remember, your dog should get rewarded with the more delicious treat and not the one you are asking them to leave. When you are both up for another challenge, head outside and repeat these steps with treats or other temptations on the floor and, again, reward with a more delicious treat.
As with any dog training, don’t force the dog. Work slowly within the dog’s physical and emotional comfort zone to avoid falls. Training should be fun, and your dog will learn better if they’re happy and not frustrated. With a bit of time and patience, your dog can learn this life-saving cue.
Elizabeth Kennedy
Elizabeth Kennedy is a freelance writer and editor in the San Francisco Bay Area.
Related articles
![]()
How to Teach Your Dog to ‘Talk’ at the Touch of a Button
Cognitive science professor Dr Federico Rossano on how Bunny, TikTok’s ‘talking’ dog, is sparking change in how we communicate with our pets
![girl with blue hair starting puppy training with white dog]() opens in a new tab
opens in a new tabPuppy Training 101: How to Train a Puppy
You and your cute classmate have lots to learn
![Side view of a cute hungry dog standing next to a red bowl with food in a studio with white background]() opens in a new tab
opens in a new tabHow to Get a Dog to Eat
You can’t appease a picky dog with chicken nuggets like you can with a toddler. Here are some things you can do
![Shy black dog walking with owner at the park.]() opens in a new tab
opens in a new tabHow to Help an Anxious Dog Conquer Their Fears
Six animal behaviourists share pro tips for boosting the confidence of a fearful dog
![Dog walker crossing a street with three dogs]() opens in a new tab
opens in a new tabHow to Prepare Your Pup For Daycare and Dog Walkers
Set your pup up for success
![Three dogs on leashes meeting and sniffing each other on a walk on the summer grass with owners]()
How Do I Get My Shy Dog To Socialise?
Dog trainer Robert Haussmann’s tips for getting a shy pup to go from wallflower to social butterfly
